Beginners Guide on How to Floss with Braces
Learning how to floss with your new braces is key to the success of your oral health. Braces make it hard to do a lot of things and you’ll be tempted to skip doing others just because it’s more difficult. But flossing should never be one of those tasks you skip in your daily routine!
When you’re just getting started on your braces routine, it can be hard to know how to effectively floss with your braces on. We’ve put together a beginner’s guide on how to floss with your braces so you’ll keep your teeth healthy and see all of the benefits your braces can provide.
Traditional Flossing
Whether you have braces or not, you should be flossing regularly and if you do have braces it’s twice as important to have good habits and good form when it comes to flossing. Adolescent braces make the method a bit different so you’ll need to budget more time to make sure you get every nook and cranny cleaned.
Set aside 10-15 minutes to make sure you get everything and every corner. All you need is waxed floss to use the traditional method when flossing with braces. Take your time and follow along with the best form for the procedure!
- Cut a large piece of floss, about 18-24 inches long
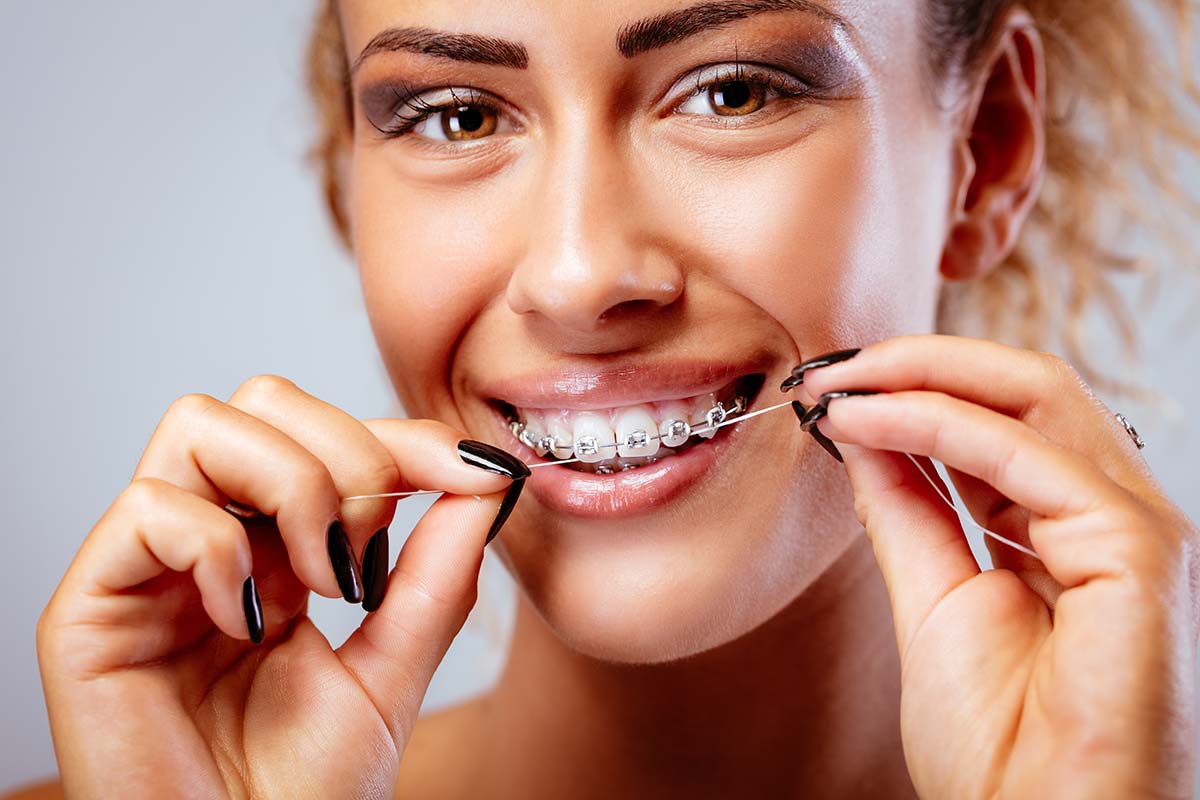
- Start by threading the floss between the main wire on your braces and your teeth. Do this in front of a mirror so you can see exactly where the floss is going and you can direct it where it needs to be.
- Take the ends of the floss and wrap them around your fingers so you can easily manipulate and handle the floss inside your mouth.
- Press the floss gently between two teeth and slide it up and down along the sides. Along with your top teeth, make an upside-down U shape with the floss then proceed to go up one side of the tooth and then down the other.
- Remove the floss and unthread it from behind your wire before moving on to the next pair of teeth!
Waterpik or Oral Irrigator
This is another option available to anyone who wants to make a good start on flossing while you have your adult braces on. The Waterpik uses a steady stream of water to clean between your teeth and around your wire without the delicate maneuvering of the floss between and around your wires.
Water flossers like this usually cost about $50 so your initial cost when using them will be greater than simply buying some waxed floss. Instead of setting aside 10-15 minutes to floss though, the water flosser gets things done fast in just 3-5 minutes instead!
- Start by filling the water flosser reservoir with water. You can choose to add in some mouthwash but it’s not necessary.
- Attach the tapered end to the water flosser and check that it’s working correctly with a test run over the sink. This is where you’ll be able to adjust the pressure of the flosser as well.
- Make sure to do this over the sink or bathtub as water might fly around the room! Lean over and put the end of the flosser in your mouth before turning it on.
- Keep your lips closed around the flosser to retain the water then let it drain out when you’re flossing.
- You’ll be in complete control of the flosser without needing to pull out waxed floss each time you need to transition. Simply guide the flosser along with each tooth and gumline for a good clean and floss.
Floss Threader
If you’re set on traditional waxed floss, there are a few indispensable tools you’ll want to utilize while you have your braces. These can all help you floss with your braces on so you won’t need to worry about plaque build-up in addition to adjustments to your braces!
A floss threader will help you pull your floss behind your kid’s braces wire and save you valuable time when you’re tending to your pearly whites. Many dentist’s offices also have options that you can try before you buy. You’ll still need to set aside several minutes to get your flossing done correctly but this handy tool will make it easier and have you back to your normal life in no time.
- Start with the same length of waxed floss as with traditional flossing, 18-24 inches, and pull it through the eye of the floss threader.
- Run the point of the threader under your wire and pull the floss through. You’ll keep the threader in one hand during this step.
- Wrap the floss around your fingers so you have more control and then press the floss between your teeth sliding it up and down to get all the debris out.
- When you’re ready to move on, pull the floss out from your teeth and behind the wire. Rethread your threader and move on to the next set of teeth.
Tips and Tricks
With three unique methods and equipment to floss your teeth while you have braces, there are a few tips and tricks that can help make the process even more smooth!
Schedule regular cleanings with your dentist so they can keep an eye on how things are progressing with your braces and your flossing. They’ll be able to clean things more effectively and you’ll start with a clean slate when you go back to flossing on your own
Skip the whitening toothpaste too. With the brackets on your teeth, the whitening toothpaste will only whiten the exposed areas leaving you with patchy spots all over your teeth. While it may be tempting to get your teeth shiny and white while you’re flossing and caring for braces, it’s best to skip it for now.
Finally, one of the best things you can do while learning to floss with braces and care for them, in general, is to switch to an electric toothbrush. While they are more expensive than manual brushes, electric toothbrushes offer a more effective clean. You still have to floss though so be sure to set aside time to get it done!